Words by: Marketing GetYourselfFelt
Last Updated: December 15, 2024
If you are felting your shed with multiple layers in a particularly windy area, it’s crucial to ensure your roofing felt stays secure. While clout nails are typically sufficient, additional reinforcement may be necessary in locations with high wind uplift, especially for elevated sheds. This is where shed felt adhesive proves invaluable.
Shed felt adhesive, such as Cromar’s Roofing Felt Adhesive, is particularly effective when paired with felt shingles that are installed in layers. It’s equally beneficial for sealing overlaps on standard shed felt, providing an extra layer of durability. Because the adhesive is bituminous, like the felt itself, it offers superior water resistance, leaving no weak points in your shed roof’s defense.
On apex roofs—which have two sloping sides, as opposed to pent or skillion roofs (with a single slope)—the ridge area where the two sloping sides meet is an ideal place to apply shed felt adhesive. This ensures extra protection at one of the most vulnerable areas of the roof.
You Will Need:
- Roofing Felt Adhesive
- Shed Felt or Shed Felt Shingles (as appropriate)
- Disposable Brushes
- Paint Roller
For the best results, store the adhesive in a warm room before use to ensure optimal application.
Installation Process
- Prepare the Base Layer:
Begin by nailing down the first layer of shed felt securely. This provides a stable surface for the adhesive to bond. - Apply the Adhesive:
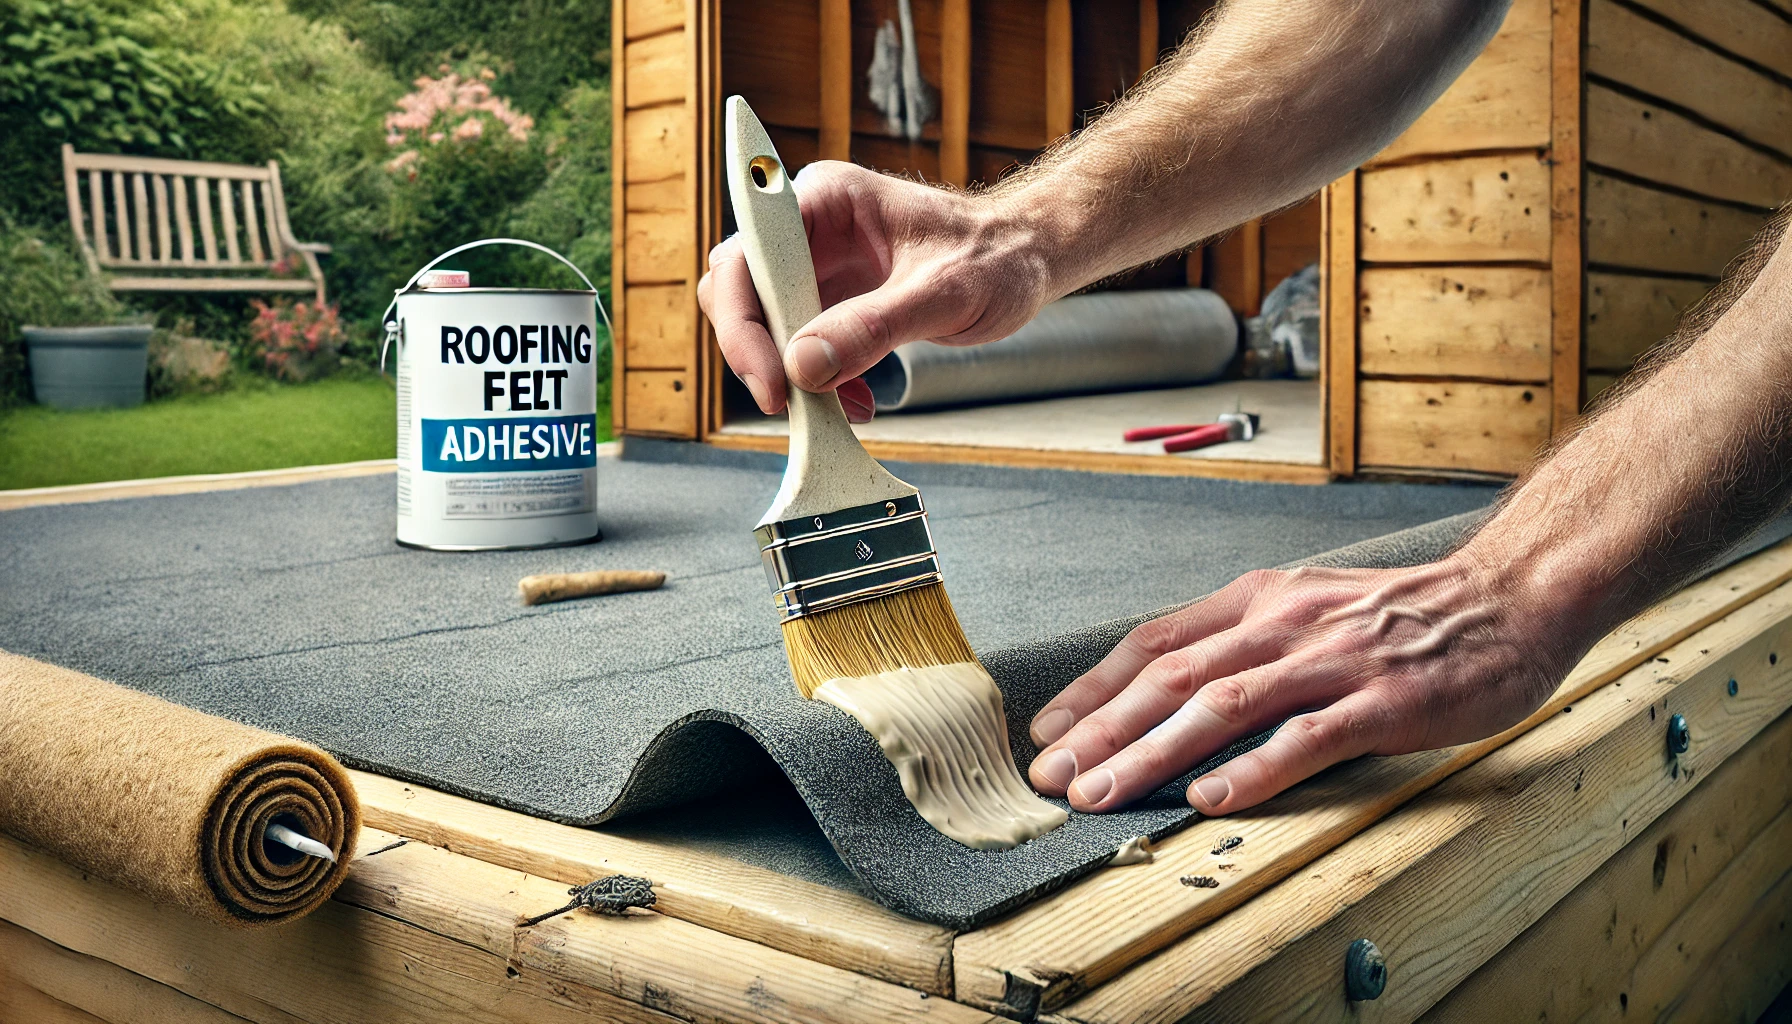
Using a disposable brush, evenly apply the roofing felt adhesive on top of the nailed felt layer. Let the adhesive cure for approximately 30 minutes before proceeding. - Lay the Next Felt Layer:
Carefully place the next layer of felt over the adhesive. Work it flat to avoid air pockets or blistering. A dry paint roller can be used to smooth the felt for a flawless finish. - For Shingles:
When working with shingles, nail down the adhered layer and reapply adhesive for the next layer. Apply adhesive only to the base section that will be covered by the overlapping tile portion to ensure a clean and secure installation. - Overlap Guidelines:
For standard shed felt, ensure overlaps are at least 150mm and that the felt extends 75mm over the shed sides, as per standard roofing practices. - Final Inspection:
After completing your shed roof, inspect it the next day to ensure the adhesive has set properly and there are no loose edges.
Important Tips:
- Keep the adhesive warm before use for smoother application.
- Always work methodically to avoid air pockets or misalignment.
- For high winds or complex roof designs, extra adhesive can enhance durability.
Notice
The content in this article is for informational purposes only. While we strive for accuracy, we recommend consulting a professional roofer or builder for your project. GetYourselfFelt.co.uk is not liable for any injury, loss, or damage resulting from the use of this content.
For top-quality roofing materials and expert advice, visit GetYourselfFelt.co.uk today!
