The Ultimate Guide to Self-Adhesive Roofing Felt: Everything You Need to Know
Self-adhesive roofing felt has become one of the most popular modern solutions for flat and low-slope roofing, offering homeowners, tradespeople, and DIY enthusiasts an easy-to-apply, durable, and flame-free alternative to traditional torch-on or hot-bitumen systems. It brings together convenience, performance, and safety in one product—making it ideal for everything from sheds and garages to porches, home extensions, and even certain commercial applications.
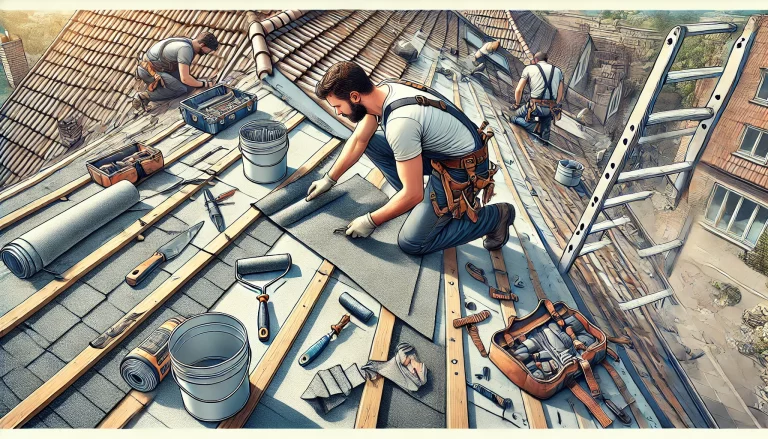
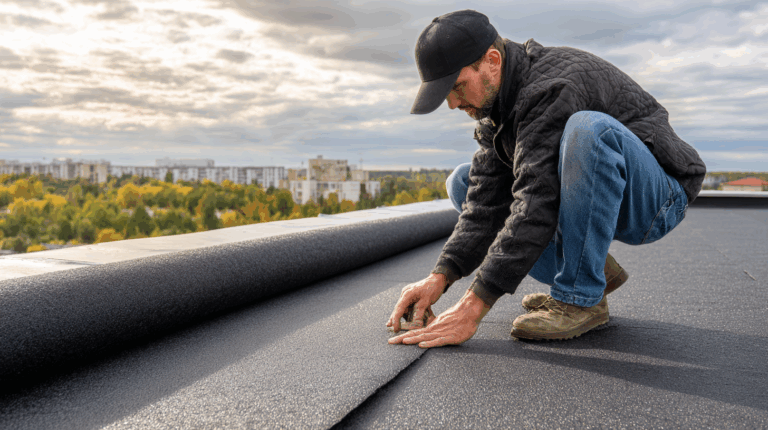
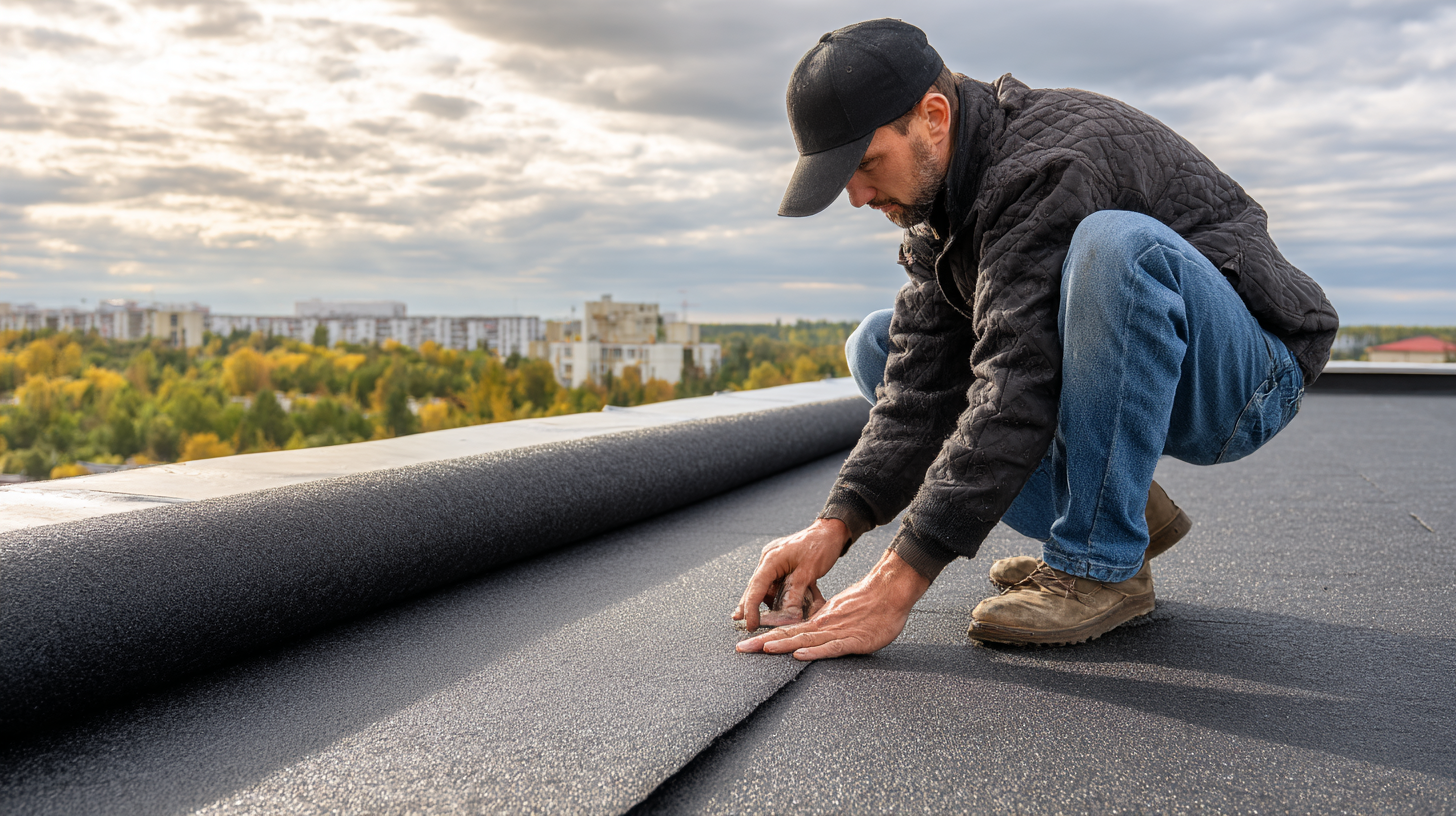
At its core, self-adhesive roofing felt is made from a base of modified bitumen, often reinforced with polyester or fibreglass, and coated with a pressure-sensitive adhesive that is protected by a removable film. When you’re ready to install it, you simply peel off the backing and stick it directly to the roof deck or underlay. This ease of application is what makes it particularly appealing to those looking to avoid the hazards and complications of working with torches, hot liquids, or messy adhesives.
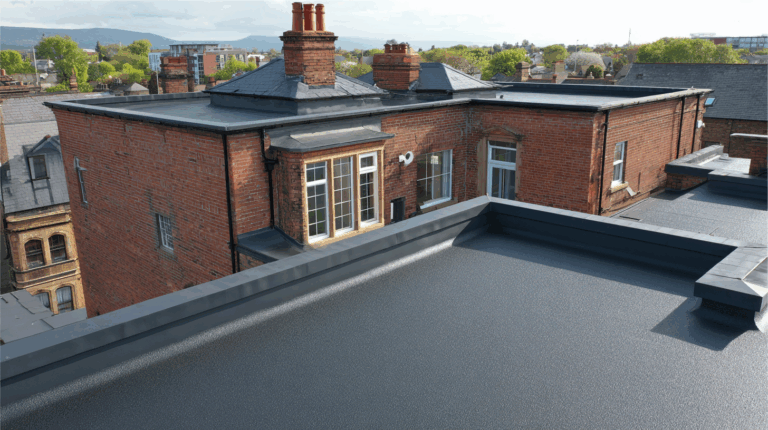
It’s not just about ease, though. Self-adhesive felt offers outstanding performance in terms of waterproofing and weather resistance. Once installed correctly, it forms a continuous, seamless barrier against rain, snow, and wind. The adhesive ensures tight bonding to the substrate, sealing out moisture and helping to prevent common issues like water ingress, pooling, or felt lifting in high winds. Because there are no nails or mechanical fixings involved in the bonding process, there are also fewer entry points for water, and the risk of future leaks is significantly reduced.
One of the major advantages is the safety it brings to the job site. In areas where the use of an open flame is either risky or outright prohibited—like on timber buildings, around gas lines, or in public-access environments—self-adhesive felt removes that concern entirely. It also reduces the need for additional personnel during application, lowering labour costs and time on site. This makes it ideal for both professional contractors who need to get jobs done efficiently, and for DIYers looking for a straightforward, manageable task.
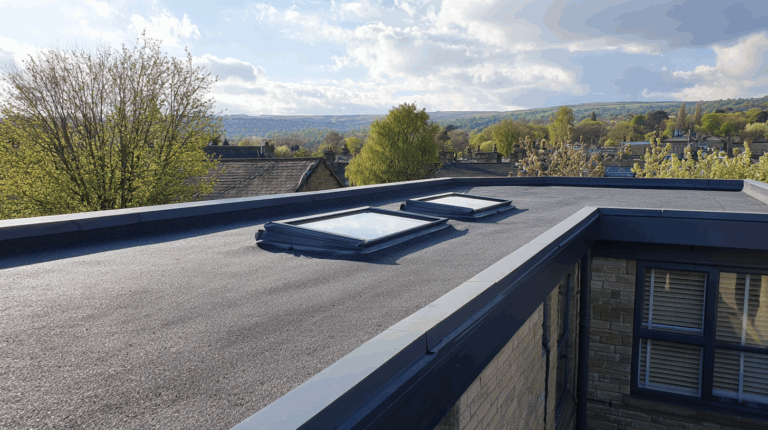
Self-adhesive felt is also versatile. It can be used as a standalone waterproofing layer or as part of a multi-layer system, with underlays and cap sheets applied in sequence for enhanced protection. These systems are designed to work together, providing added resistance to tearing, UV degradation, and temperature fluctuation. Some varieties even include mineral granule surfaces, giving the finished roof a tidy, weatherproof, and aesthetically pleasing appearance.
Installation is straightforward but does require attention to detail. The surface to which the felt is being applied must be dry, clean, and smooth. Dust, dirt, old adhesive residue, or moisture can all compromise the bonding process. In colder temperatures, the adhesive can become less pliable, making it harder to achieve a strong stick. In hot weather, it can become overly tacky and difficult to reposition once in contact with the roof deck. For best results, it’s recommended to install in mild, dry conditions and to press the felt down with a roller to remove air pockets and ensure full contact.
While many see it as a product geared towards smaller jobs like sheds and garages, self-adhesive felt is increasingly being used on larger, more complex roofing projects. Its performance, ease of use, and clean installation process make it suitable for schools, retail buildings, warehouses, and flat roof extensions on homes—especially where quick turnaround or minimal disruption is important.
Self-adhesive felt generally has a long service life, with properly installed systems lasting anywhere from 15 to 30 years depending on the quality of materials and the environment. It is also relatively low maintenance, although regular inspections are advised to check for any signs of wear, edge lifting, or punctures from debris or foot traffic. If damage does occur, many systems can be patched with self-adhesive repair strips, saving the cost of full replacement.
One of the only real drawbacks is the cost. Self-adhesive roofing felt tends to be more expensive upfront than traditional felt systems, but the added safety, labour savings, and speed of installation often make up for this difference in the long term. It’s also not as forgiving if surface preparation is rushed—an improperly cleaned or damp surface can lead to poor adhesion, which in turn may cause leaks, bubbles, or delamination over time.
Another point to consider is that removal can be more difficult than traditional felt, especially if the adhesive has bonded tightly over many years. Most installers prefer to overlay a new system over the top, provided the old layer is still structurally sound and not trapping moisture.
Overall, self-adhesive roofing felt represents a modern evolution in flat roofing technology. It bridges the gap between convenience and performance, offering a reliable waterproofing solution that’s safe, efficient, and suitable for a wide variety of applications. Whether you’re sealing up a garden shed or undertaking a large commercial job, this flame-free, high-performance felt can save time, reduce risk, and deliver lasting results. With the right preparation and installation techniques, it’s one of the most dependable roofing materials on the market today.
FAQ: Self-Adhesive Roofing Felt
1. What is self-adhesive roofing felt?
Self-adhesive roofing felt is a modern type of bitumen-based roofing material that sticks directly to the roof deck or underlay without the need for nails, torches, or hot bitumen. It uses a peel-off backing that exposes a pressure-sensitive adhesive layer, allowing for easy, flame-free application.
2. Where can I use self-adhesive roofing felt?
It’s ideal for flat or low-pitch roofs and is commonly used on sheds, garages, extensions, porches, summerhouses, and even some commercial flat roofs. It can be used as a single-layer covering or as part of a multi-layer system with an underlay and a cap sheet.
3. Is self-adhesive felt suitable for DIY use?
Yes. It’s one of the most DIY-friendly roofing materials available. The peel-and-stick process makes it safer and easier to install than torch-on or hot-applied felts, especially for those with limited experience.
4. Does it require any special tools or equipment to install?
Beyond a utility knife and a roller or brush to press it down firmly, you don’t need special tools. In colder conditions, a hot air gun may help with better adhesion at overlaps and corners, but torches are not required.
5. What type of roof decking is it compatible with?
It can be applied to OSB (oriented strand board), plywood, concrete, and other smooth, solid surfaces. The key is ensuring the surface is dry, clean, and free from dust, oil, or loose particles.
6. Can I install it in any weather?
Ideally, installation should take place in mild, dry conditions (above 10°C). In colder temperatures, the adhesive can stiffen and may not bond effectively. In very hot conditions, the adhesive can become overly tacky and hard to control.
7. Does it require an adhesive or primer?
Some surfaces may benefit from a bitumen primer, especially if they’re dusty or porous. A primer enhances adhesion and ensures a long-lasting seal. However, many self-adhesive felts are designed to bond directly to the surface without extra adhesives.
8. How long does self-adhesive roofing felt last?
When correctly installed and maintained, it can last between 15 and 30 years, depending on the product quality, local weather conditions, and whether it’s installed as a single layer or part of a multi-layer system.
9. Can self-adhesive felt be used with other types of roofing materials?
Yes. It can be used in conjunction with mineral-finished top sheets, insulation boards, flashing tapes, or even beneath slate or tile roofs as an underlay, provided compatibility is confirmed by the manufacturer.
10. Can I walk on it after installation?
It’s best to avoid walking on it until it’s had time to bond fully—usually a few hours to a day, depending on weather. Even after curing, walk only when necessary and with care to avoid punctures or wear.
11. What if bubbles or wrinkles appear after installation?
Small air bubbles may occur if the felt isn’t rolled down firmly during installation. These can usually be smoothed out with a weighted roller or by carefully lifting and reapplying the section. Persistent bubbling may indicate a damp surface or poor adhesion.
12. Can it be repaired if damaged?
Yes. Many brands offer self-adhesive patch kits or compatible repair strips. These are ideal for sealing minor tears or punctures without removing the whole felt. Ensure the area is clean and dry before applying a patch.
13. How do I dispose of old self-adhesive felt?
Self-adhesive roofing felt is classed as construction waste and should be taken to an approved recycling or disposal facility. Contact your local council or waste service for guidance, especially if disposing of large amounts.
14. Can I lay a new layer over an old self-adhesive felt roof?
In many cases, yes—especially if the existing layer is still intact, flat, and dry. However, the surface must be cleaned thoroughly, and some installers may apply a primer or bonding layer before adding a new felt sheet on top.
15. Is it more expensive than traditional roofing felt?
It often costs more per roll, but it usually saves time and money in the long term thanks to reduced labour, faster application, and no need for additional fixings, torches, or adhesives.
16. Is it environmentally friendly?
While it’s not the most eco-friendly material by nature, its longevity and reduced installation energy (no flames or heated bitumen) make it a more sustainable choice in some use cases compared to traditional felt.
17. Are there different types or grades of self-adhesive felt?
Yes. Options range from basic single-layer felts for sheds and outbuildings to heavy-duty mineral-top cap sheets for long-term flat roofing systems. Always choose the right type based on your roof’s usage and exposure.