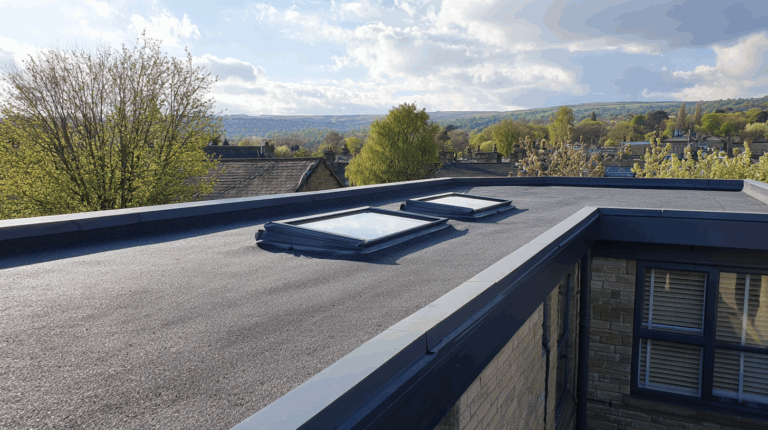
Laying roofing felt properly is essential to ensure a roof remains waterproof, durable, and secure. Whether you’re tackling a repair or installing a new roof, following the correct procedure is critical. Here’s a straightforward guide to help you lay roofing felt efficiently and effectively.
1. Start with a Clean Surface
Before laying roofing felt, make sure the roof deck is clean, dry, and free from any loose debris or protrusions. Brush away dirt, nails, and old roofing material remnants to ensure a smooth application.
2. Position the Felt at the Roof’s Edge
Begin at the lowest edge of the roof. Align the felt with the edge, ensuring the selvedge (the overlapping edge) faces away from the roof’s edge. This will allow for proper water runoff and prevent pooling.
3. Secure the Felt in Place
Use galvanized nails or a staple gun to secure the felt along the roof edge. Space the fasteners about 6-8 inches apart to hold the felt firmly without sagging. Ensure the felt lies flat with no wrinkles or bubbles.
4. Overlap the Felt for Waterproofing
Lay the next strip of felt so it overlaps the first row by 2-4 inches. This overlap creates a watertight barrier, preventing leaks between layers. Continue this process, working upwards towards the roof’s ridge.
5. Handle the Gutter Drips
For the gutter drip area, lay an additional strip of felt that overlaps between the gutter drip and the first row of the top layer. This ensures water is directed away from the roof and into the gutter.
6. Fix Loose Mineral Chippings
If using felt with a mineral finish, brush away any loose chippings before laying the next strip. This ensures the layers bond securely and prevents gaps in the waterproofing.
7. Cut Felt to Fit Details
Use a utility knife to cut the felt neatly around roof penetrations, such as vents or chimneys. This helps maintain a clean finish and ensures full coverage around edges and awkward areas.
8. Complete the Top Layer
Once all rows of felt are securely in place, finish the top layer by securing it firmly with fasteners. Pay special attention to edges and seams, ensuring they are properly sealed for added protection.
9. Secure Edge Details
After the top layer is in place, complete any edge details. This includes capping the ridge and securing the felt along the edges with adhesive or additional fasteners to prevent wind lift.
10. Inspect the Roof
Once the felt is laid, inspect the roof for any gaps, loose edges, or missed fasteners. Address these immediately to maintain the roof’s integrity.
You Got This!
Laying roofing felt properly is a straightforward task when following the correct steps. Starting from the lowest edge and overlapping each row ensures a watertight seal, protecting your roof from the elements. Remember to handle edge details and gutter drips with care for a professional finish. Proper installation not only enhances the roof’s durability but also extends its lifespan, giving you peace of mind for years to come.


